
Replacing a Seiko 508GS is not simply a matter of removing the old head and installing a new one.
Before installation, several details should be checked—from the printhead version and ink system to the ink path, electrical connections and printer settings. Missing one of these checks can lead to poor jetting, missing nozzles or even damage to a new printhead.
Here are the key things to check before you start.
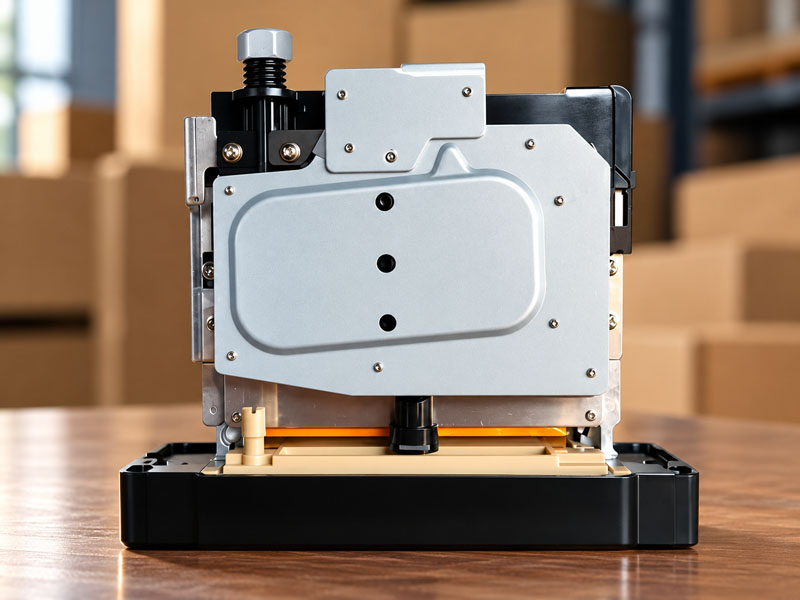
Confirm the Replacement Is the Correct Version
Before opening or installing the new head, compare it with the one removed from the printer.
Check the complete part number and label rather than relying only on the “508GS” name or product appearance.
Pay attention to:
Part number
Ink compatibility
Drop configuration
Connector configuration
Printer model
The 508GS family is available for different ink systems and configurations, so a similar appearance does not necessarily mean two versions are interchangeable.
If anything is unclear, confirm the model before installation.
Check the Ink System Before Installing a New Head
A failed printhead does not always mean that the printhead itself was the original cause.
Before installing a replacement, inspect the ink delivery system for problems such as:
Contaminated or old ink
Air or bubbles in the ink line
Blocked filters or dampers
Unstable ink pressure
Leaking connections
Residue from previous ink
These problems can affect ink flow and nozzle performance. Installing a new head without correcting an existing ink-system problem may cause the same symptoms to appear again.
This is particularly important if the previous head experienced repeated nozzle loss or unstable jetting.
Make Sure the Ink Matches the New Head
Confirm that the ink currently in the printer is suitable for the exact 508GS version being installed.
Do not assume that all Seiko 508GS versions use the same ink.
If the printer has previously been converted from one ink system to another, such as solvent to UV, check the machine configuration carefully before installing the replacement.
Mixing incompatible ink chemistry or cleaning fluid can affect the ink path and the new head.
Inspect Cables and Connectors
Check the printhead cables and connectors before connecting the replacement.
Look for:
Ink contamination, bent contacts, loose connections, corrosion or physical damage.
A damaged cable or contaminated connector can cause problems that appear to be printhead failures.
The printer should also be powered off and disconnected as required by the machine manufacturer’s service procedure before maintenance. General Seiko maintenance guidance likewise calls for disconnecting power before maintenance.
Avoid touching sensitive electrical areas unnecessarily during handling.
Check the Printhead Drive Settings
Some Seiko printing systems require the head drive voltage to be set according to the value specified for the individual printhead after replacement. Seiko printer service documentation explicitly describes drive-voltage adjustment as a required step when replacing a head on those systems.
Therefore, do not automatically reuse settings from the old head.
Check the printhead label and your printer’s service manual to determine whether voltage, waveform or other head-specific parameters need to be entered or adjusted.
Don’t Force Ink Through the New Head
After installation, follow the printer manufacturer’s recommended ink-filling and priming procedure.
Avoid using excessive pressure to force ink through the head. Industrial piezo printheads depend on controlled ink flow and pressure, and incorrect priming can create additional problems.
Once the ink path is properly filled, check for:
air bubbles → leaks → stable ink supply → nozzle condition
before beginning normal production.
Run a Nozzle Check Before Production
Do not move directly into a production job after replacement.
Run the printer’s recommended nozzle check and confirm that the head is firing correctly.
If nozzles are missing, avoid immediately assuming the new head is defective. Recheck the ink supply, pressure, air in the ink path, cable connections and relevant printer settings. Ink-system issues can also cause intermittent or changing nozzle dropout.
Only begin normal printing after the system is operating consistently.
A Quick Pre-Installation Checklist
Before installing your replacement Seiko 508GS, confirm:
Correct part number → Correct ink → Clean ink path → Stable ink supply → Cables and connectors checked → Head settings confirmed → Proper priming procedure ready
Taking a few minutes to check these items can help reduce installation problems and avoid unnecessary downtime.
Need a Seiko 508GS Replacement
If you are still selecting the correct replacement, send Lemsun your existing printhead label, printer model and ink type before ordering.
If the required version has already been confirmed, view the Lemsun Seiko 508GS Printhead for product specifications and availability.
Important: Installation procedures and head settings can vary between printers. Always follow the service instructions for your specific machine rather than using a generic installation procedure.
Post time: Sep-23-2026